
.JPG)


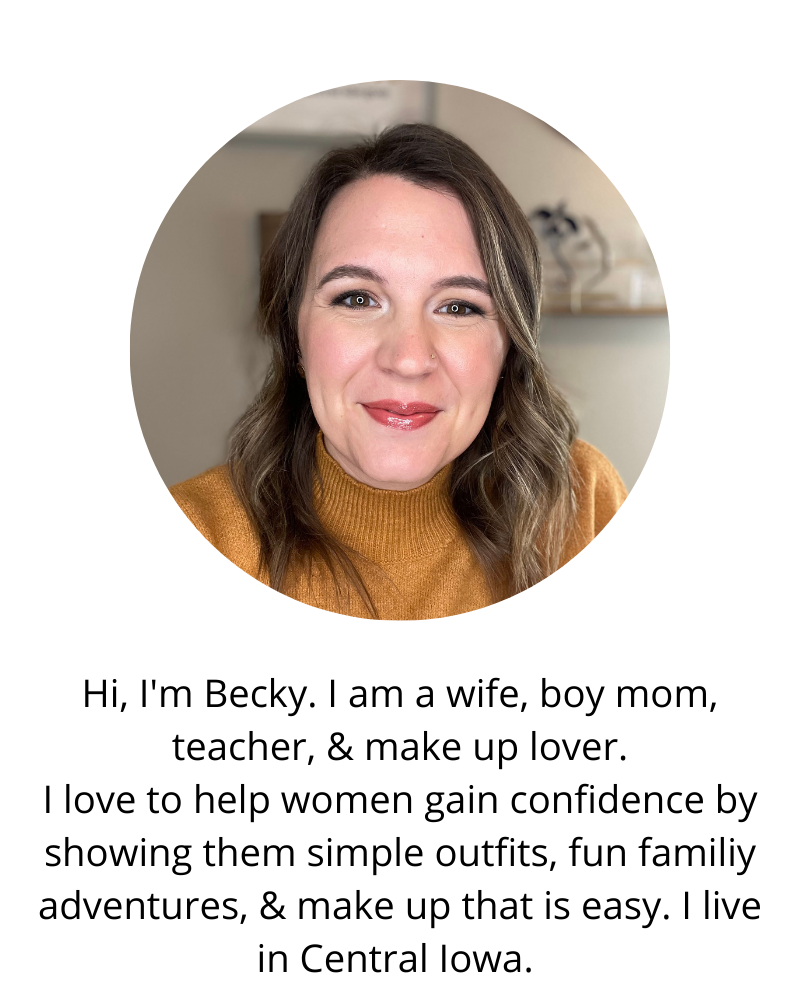
About Me
Social Media


Popular Posts
-
 Updated May 13, 2020 Do you have a face? Do you like skincare or make up? I've been with SeneGence for over three and a half yea...
 -
 Lessons in Fashion: a sporadic series where I share little tips with you that help make my wardrobe stretch. Today's Le...
 -
 We're experiencing a lot of the last firsts with Calvin being our last baby. Last first steps. Last first words. Last week we experie...
 -
 Natural Grocers extended me this experience in exchange for my review. All opinions are my own. See my disclosure statement . On V...
 -
 I don't know what it is about buntings, but I like them though I haven't made many. I also have a thing for canvas, so I decided t...
