bybmg: July 2013
I've added a couple new things to the shop and brought back some oldies!


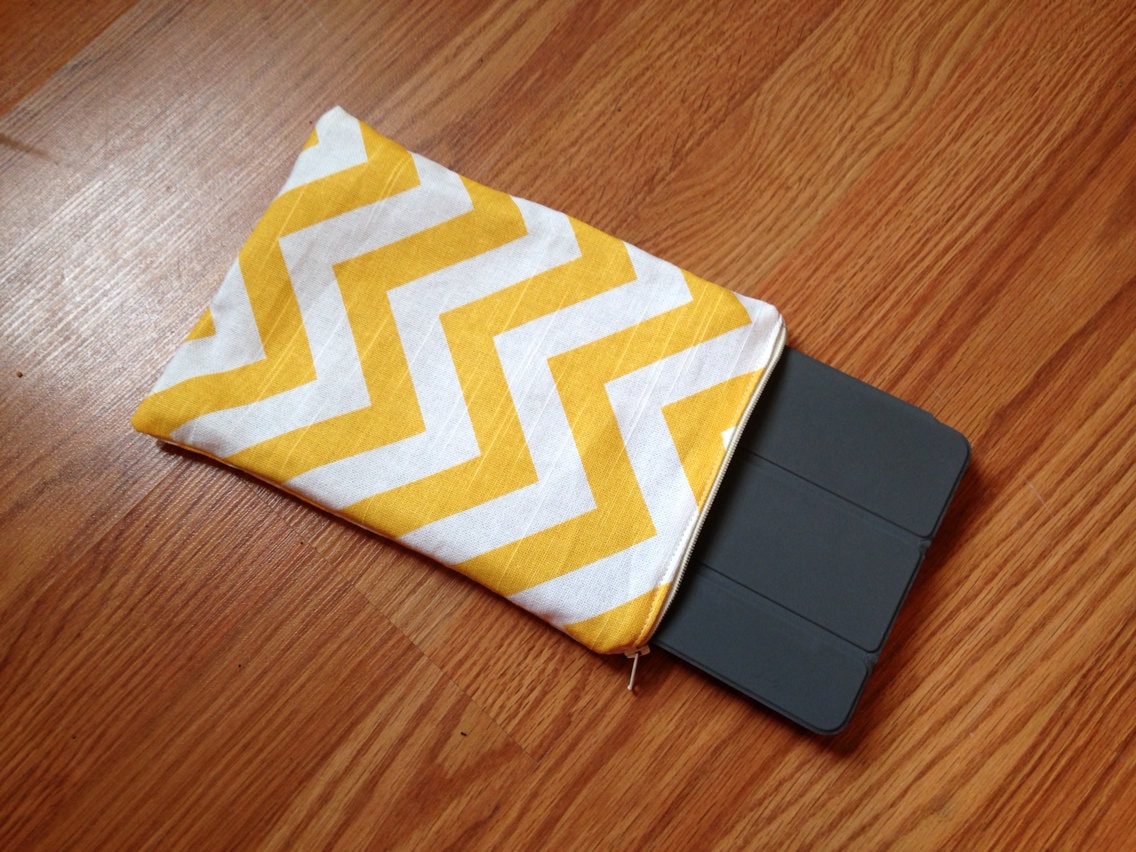
Remember that yellow chevron fabric I used in Wesley's nursery? I still have more, so I made up a couple cute cases! It's constructed for an iPad Mini, but I'm sure it would work for other tablets, too.


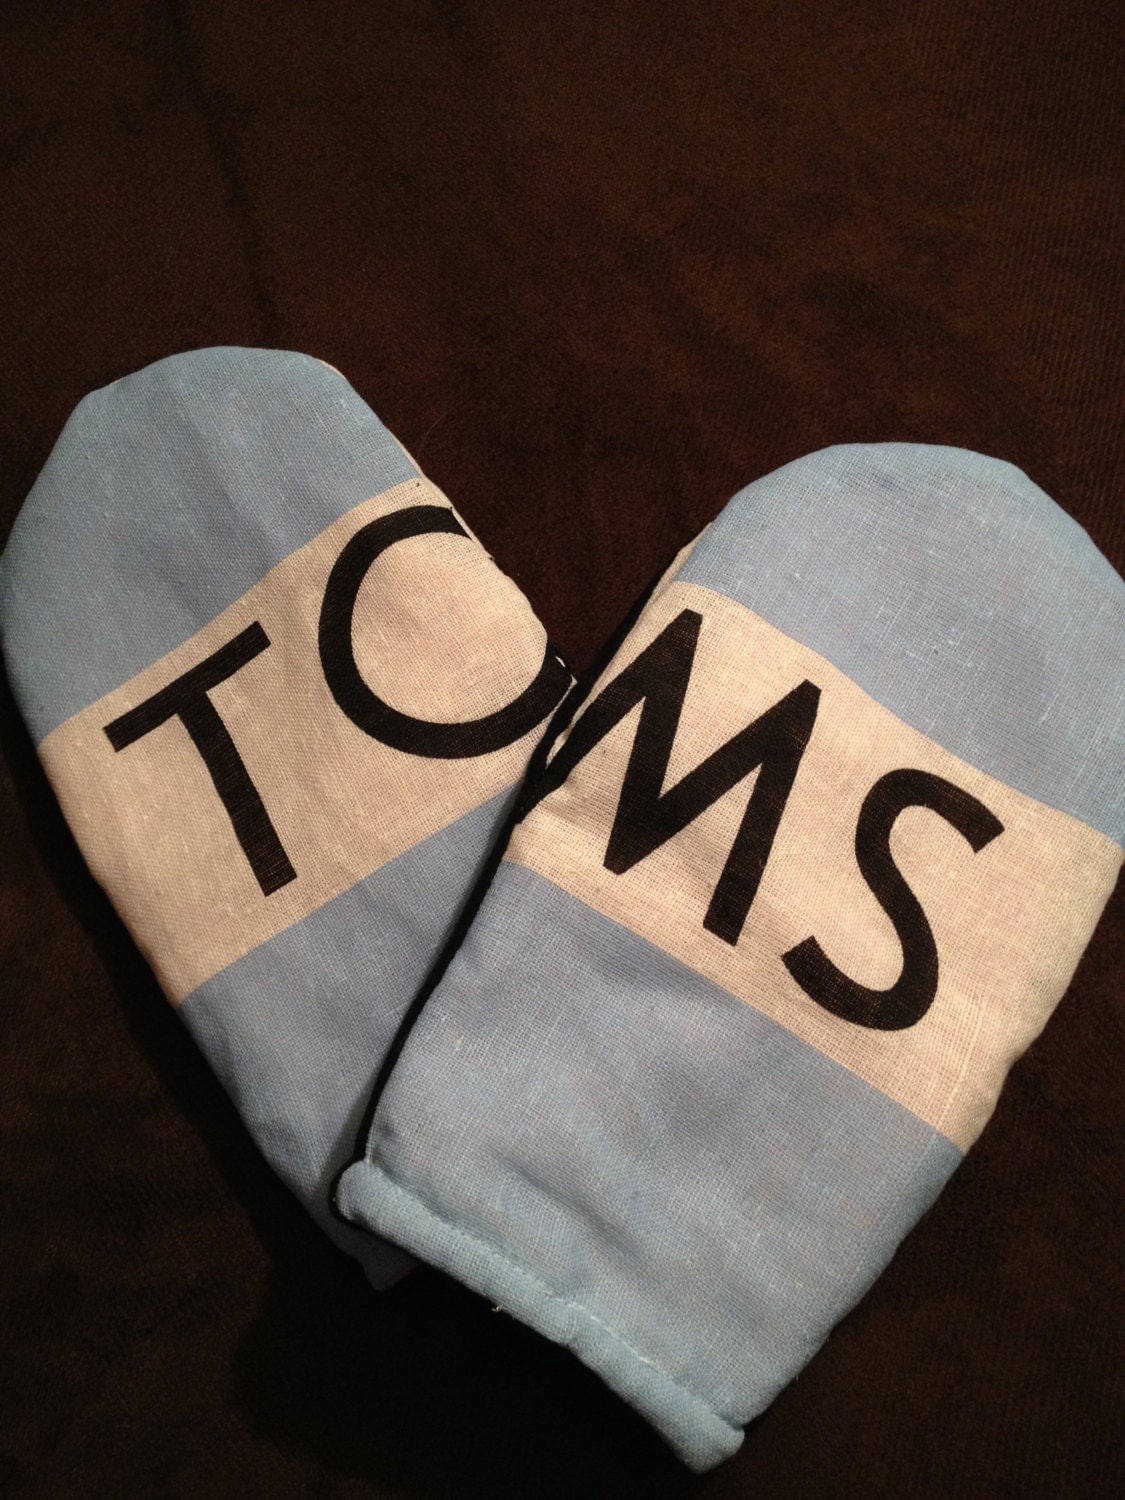
Toms Mittens are back!

You heard it right! These are made from a Toms flag. Check them out in the shop to see the cuteness on their palms!


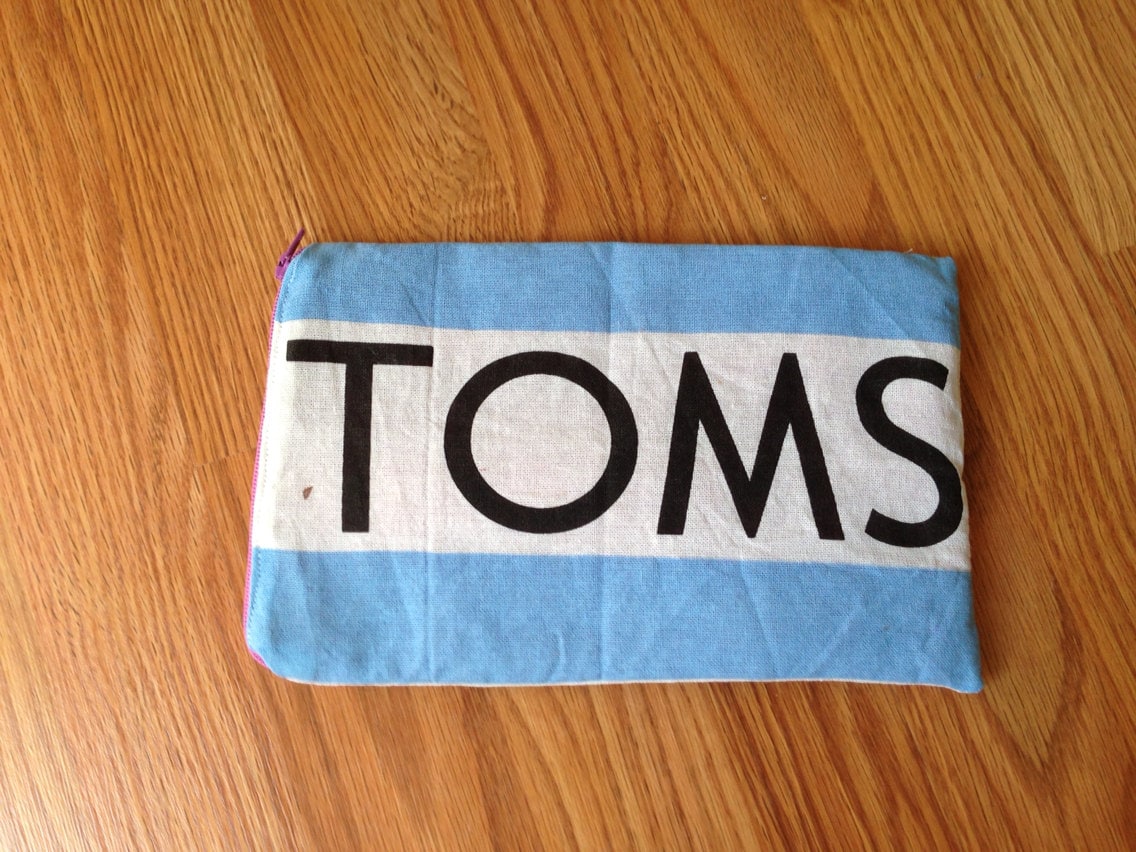
This, I admit, was a trial piece. I made an iPad Mini cover for myself and this was the first attempt. It is just a SMIDGE too small, but if you have a different tablet, yours might fit. 

I also have some new Toms bags, and some that have been hanging out there for a while!! Just for my blog readers, use the code BYBMGBLOG for 10% off! The code expires August 31, 2013.


Two weeks...not even two weeks... That's how much summer I have left before school starts up again. I am trying to soak up every minute! This summer has been extra wonderful because I got to begin it 7 weeks early thanks to Wesley's arrival. I have to admit, I'm ready for a little more of a routine, though, so going back to school will be ok.


We grew carrots for the first time. I really had no ideas how to thin them out, how much to thin them out, but we got some. Hooray!


We took a family trip to The Science Center of Iowa. Here's Russ and Henry in front of the green screen they have there. Sometimes the local weather people forecast from there.


Waffles - cake waffles. another Pinterest find. Not really worthy of a Pinteresting post because they're so. easy. Make a cake mix, pour it in. Yummy and much easier to eat than cake.


Living the every day... lots of Mr. Potatohead, Transformers, and Lego building time


Hanging outside - Look at those cheeks!


Going on a boat! - My dad took us our on his family heirloom boat. Henry had a blast. Wesley stayed back with Grammy.  


Linking up for Mommy Mondays with Simply Just Lovely


So my motto for my Etsy shop is "Made with love, not a pattern." Seriously I don't like patterns. They are complicated and I just don't have much patience for them. I figure it out as I go, tear it out if I mess up, and just try not to make many complicated things!

Today was an fine example of me living that motto. Russ wanted a very specific zipper pouch for his new GoPro video camera. I'd made a pouch previously for some other audio visual gear he needs to have organized for his business. He wanted his pouch with divided, top and bottom, and a side pouch. I really hadn't done anything like it before...and just formed a picture in my head. I really couldn't tell you how I did it, but it worked!


So, if ya need a strangely shaped or specific-pocketed zipper pouch, I might be your gal!

I've heard, though Henry isn't old enough for tooth loss yet, that the whole tooth and money exchange can be tricky to do when little ones are sleeping. I found a customer through Facebook who wanted tooth fairy pillows for her twin girls. She picked the fabric from my stash, and I came up with the design. They were so fun to make! I'd love to make you one if you're interested. The tooth is a pocket to tuck in the tooth and money.


Wesley was baptized Sunday. We had tons of family in town, and it was a blast!


Russ's grandfather passed away in February, and Grandpa Bill was known for his crepe recipe. Russ has carried on the crepe tradition, so crepes were the main menu item for the brunch we hosted after church.


Russ came up with four different suggestions for crepe filling combos including frozen chocolate covered bananas. "The Becky" is in tribute to my love of Hawiian pizza. 


I made cupcakes, of course, and make a cross cupcake cake. Russ got me chevron cupcake liners for Mother's Day, and so I matched the teal on some of them with the frosting.


My mom made Wesley's outfit. I love the little vest on it! I made the little chevron shoes.


All four of Wesley's Great Grandmas were able to be there. What a blessed day it was!


When I saw this pin, I thought that it would be an easy thing for Henry and I do make together this summer.

It truly was SUPER easy.


I got a 2 liter of orange soda and a 14 oz can of sweetened condensed milk.


I have the ice cream maker attachment for our KitchenAid mixer. It's a big bowl that is kept in the freezer and a special mixing blade attachment. I don't use it often enough, but I just keep it in the bottom of our deep freeze and dig it out when needed.


It's kind of small, so I only put in one liter of soda and 7 oz of sweetened condensed milk.


Then, I turned it on stir, and let it go for 30 minutes. Henry kept coming back to check on it.


After 30 minutes, it looked icy!


It was icy/soupy, but what homemade ice cream isn't? I dished it up.


Henry loved it and asked for seconds and thirds. After a bowl for Russ and me, too, I still had a few cups worth left that I put in the freezer. I'd love to try this with rootbeer!


Last summer I bought a straw wreath to decorate for our front door. I wrapped it in fabric and added some felt flowers. A year later, it was faded from daily sun exposure.


The front door faces the south. So, I took it down and took all of the fabric off.  I still have a good amount of the yellow chevron fabric from Wesley's nursery, so I put it to work again! Chevrons, buntings, and pinwheels, can I get more trendy?!


If you haven't covered a wreath in fabric, it's pretty easy. I didn't document it step-by-step, but basically you cut strips of fabric, wrap, and glue as you go. I use hot glue because it sticks well although I burn my fingers. For the bunting, I cut small felt triangles and sewed them together on my machine, again, no step-by-step, but you just sew on the triangle, leave a few stitches between, and sew the next one on.


The pinwheel was something I'd seen done but never tried myself. The cute little bicycle button was a gift from my mother-in-law, and I thought it matched well.  


I cut a square of felt and cut up each corner not all the way to the middle. Then, I folded down one corner, skipped the next, folded down the next, and worked my way around. 4 of the 8 corners end up touching the middle. I glued the middle corners to the middle of the square with hot glue (burned fingers again, but it was quick!). Then, I attached the button to the middle and glued it on the wreath. 

That's it! I'd love to see wreaths you have made! 


Linking up with Motivate Me Monday & The DIY'ers


Today was a hot one here in Iowa. I dug into my summer craft Pinterest board and decided it would be a perfect day to try out ice chalk.


I used the blogger's suggestion of 1 part water to 1 part cornstarch. I had about 2 cups cornstarch on hand, so in it went!


I separated it out into 3 measuring cups to do different colors. I would recommend using something with a spout to mix it in so it is easy to pour into ice cube trays. 


I've switched to gel food coloring when I bake, but I knew I kept this liquid around for something!


 I just squeezed in a lot.


This is how it looked before I poured it into the trays.


I did yellow and red and then mixed some blue and yellow together to get green.  I put them in the freezer at about 8 am. After Henry's nap, at about 3:30, we got them out.


He was excited.


But, then he got pretty mad because he couldn't figure out what to do with them. I will admit that a tantrum occurred complete with ice chalk throwing.


So, I took a picture of them while he fussed it out.


Eventually he came back and drew on our back sidewalk.


Then he discovered he could draw on the fence. 


He also learned he could make them stick to the fence.


And then he figured out he could color himself...


He dripped it all over his legs.


His digger also made an appearance.


This is his "I'm the green Incredible Hulk" face. 

This wonderful stuff kept our boy engaged for at least 45 min. I was working on stapling fabric to his twin box springs (fail...). We used two of the three ice cube trays I made, so I still have one in the freezer for another day.

All in all, this was fun. I was nervous when the tantrum happened, but he rallied and had a blast! He went straight to the bath when he was done, and I'm happy to say, he is no longer green. His shirt already had paint on it, and his shorts were cut-offs, so I'm not worried about what happens to them.

Linking up with Motivate Me Monday over at Keeping It Simple Crafts and The DIY'ers over at Home Coming.

Impact-Site-Verification: 574454573. Powered by Blogger.